
Installing metal roofing can seem challenging for beginners, but with the right approach, it becomes manageable. This step-by-step guide illustrates how a professional roofing contractor approaches a metal roof installation project. We'll walk through each phase from gathering tools to final maintenance tips. The process requires careful planning, proper preparation, and attention to detail. By following these simple instructions, you can achieve a professional-looking result that will protect your home for years to come.
You'll need specific tools and materials for a successful metal roofing job. Basic tools include a drill with screw bits, a metal saw, a chalk line, tin snips, a tape measure, and safety gear like gloves and goggles. You'll also need a ladder or scaffolding for safe access to the roof. Materials include metal roofing panels, special screws or nails made for metal roofing, closures to seal gaps, and underlayment for weather protection. Don't forget to trim pieces for a clean finish around edges. Having all items ready before you start prevents delays and makes the job go smoothly. Quality tools and materials make your roof last longer and look better.
Good preparation creates a strong foundation for your new metal roof. Start by carefully inspecting the existing roof structure for any damage or weak spots that require immediate attention. Look for rotted or damaged roof deck areas, loose or missing shingles, and ensure the structure can support the weight of the new metal roofing. Address any issues you find during this inspection to prevent problems later. Clean the roof completely, removing all debris and old materials. A clean, solid roof surface is needed for proper installation. Taking time for thorough preparation prevents costly problems and helps your new roof perform well.
Underlayment acts as a protective barrier between your roof deck and the metal panels. Here's how to install it properly:
This barrier protects against moisture and provides a solid foundation for your metal roofing system. Proper underlayment installation helps your roof last longer and prevents water damage to your home.
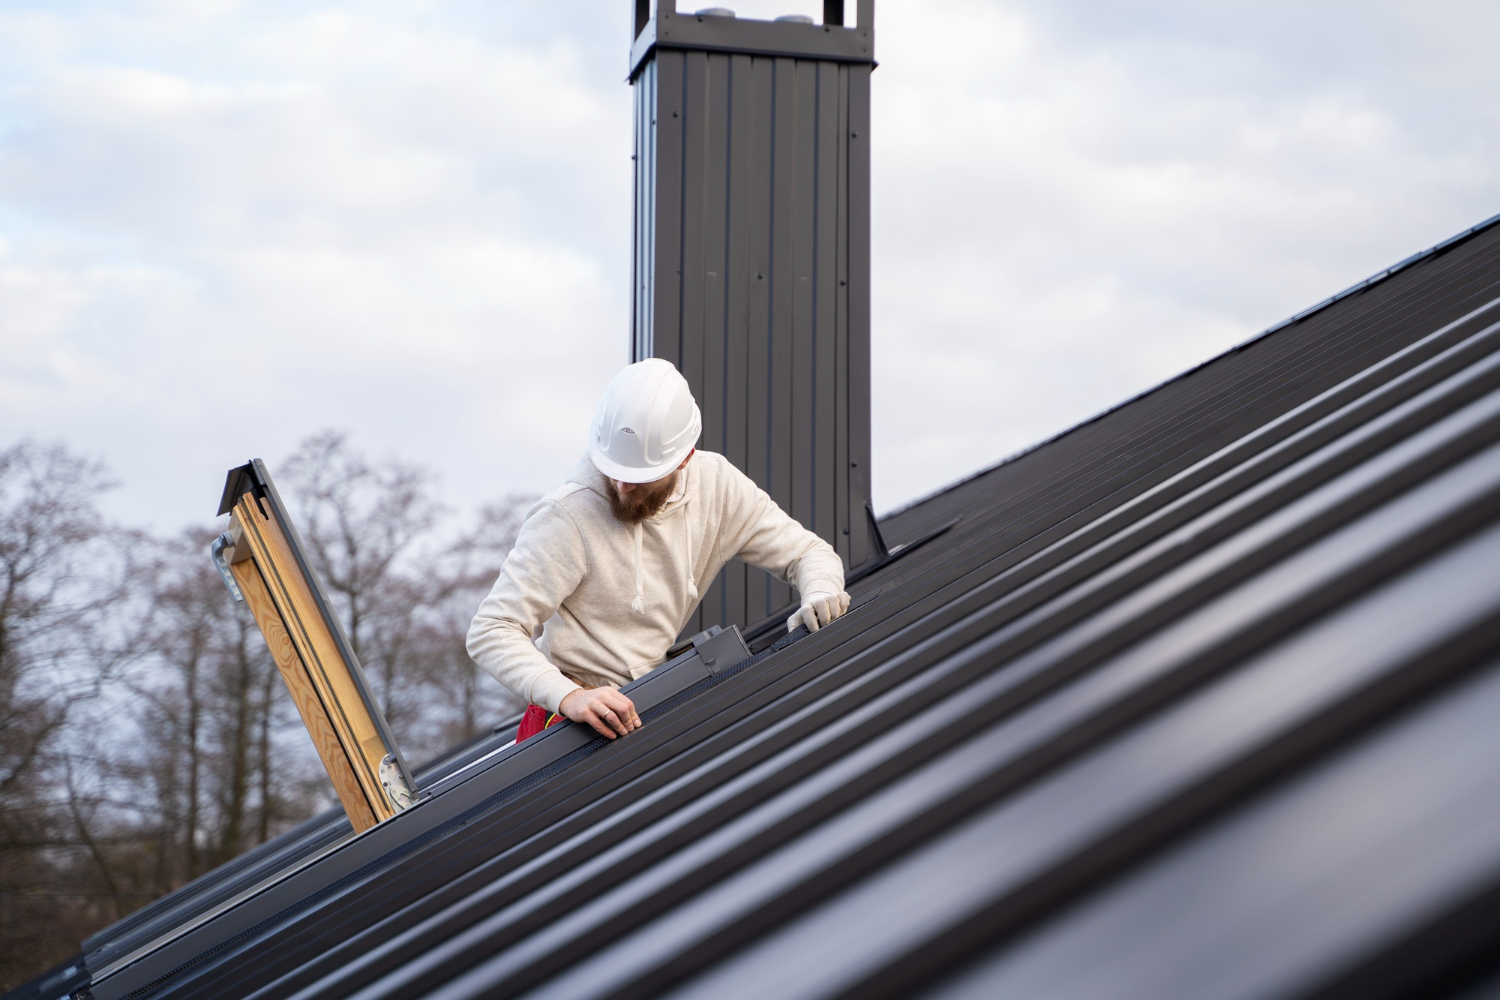
With underlayment in place, you can start installing the metal panels. Begin at one corner and align the first panel straight with the roof edge, letting it hang over the recommended distance. Use screws in the flat parts of the panel to prevent leaks. When adding the next panel, overlap it with the first panel, following the manufacturer's directions. Continue across the roof, checking the alignment and making adjustments as needed. Cut panels to fit around vents, chimneys, and other roof features. Proper alignment and cutting ensure a tight, weatherproof installation.
Proper fastening keeps your metal roof panels secure in all weather conditions. Follow these key steps:
Complete your installation with proper finishing work and establish a regular maintenance routine. Check the entire roof for gaps, loose screws, or potential leak spots. Apply sealant to all seams and edges to prevent water from entering and create a watertight seal. Replace any damaged or missing fasteners to maintain the roof's structural integrity. For ongoing care, remove debris like leaves and branches from the roof and gutters regularly to prevent water buildup. Clean gutters help water flow properly and prevent damage to your home. Regular maintenance ensures your metal roof functions optimally and significantly extends its lifespan.
Related Topics:
